sniproxy安装使用
1、购买Ubuntu服务器,要求Ubuntu 16.04及以上,待服务器开启后,执行以下命令关闭服务器防火墙和临时关闭selinux
ufw disable
setenforce 0
2、执行以下操作,彻底关闭selinux,防止重启后selinux再次启动
修改/etc/selinux/config 文件
将SELINUX=enforcing改为SELINUX=disabled
3、安装依赖
sudo apt-get install autotools-dev cdbs debhelper dh-autoreconf dpkg-dev gettext libev-dev libpcre3-dev libudns-dev pkg-config fakeroot devscripts
4、安装git软件
sudo apt-get install git
5、从github上获取sniproxy
git clone https://github.com/dlundquist/sniproxy.git
6、先进入sniproxy,然后执行第二步
cd sniproxy
./autogen.sh && ./configure && make check && sudo make install
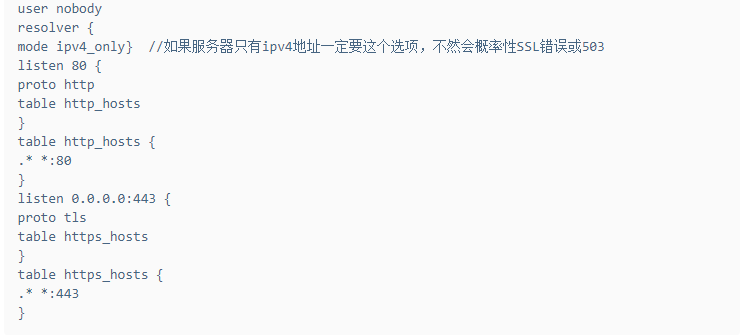
备份/etc/sniproxy.conf,然后vi /etc/sniproxy.conf,输入以下内容
user nobody
resolver {
mode ipv4_only}  //如果服务器只有ipv4地址一定要这个选项,不然会概率性SSL错误或503
listen 80 {
proto http
table http_hosts
}
table http_hosts {
.* *:80
}
listen 0.0.0.0:443 {
proto tls
table https_hosts
}
table https_hosts {
.* *:443
}
6、用以下命令启动sniproxy
sniproxy -c /etc/sniproxy.conf